This effect creates a metallic look for type or other line art object. Many of the filter settings in this tutorial depend somewhat on the resolution of your image. The example I give is 72 ppi. If you're creating a higher resolution document, you made need to experiment with adjusting some of the filter settings upwards.
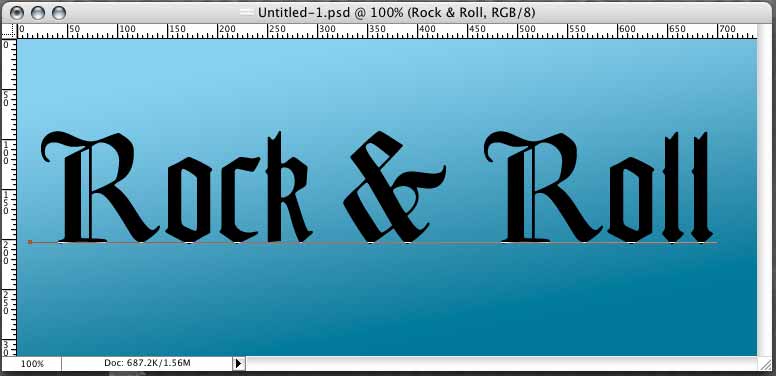
I started with a 740 x 300 pixel 72 ppi document. I filled the background with a simple blue gradient, but you can use any sort of background or image you want. Type something with the type tool. A large, decorative font works well. I used Goudy Text MT at 150 points. You may need to adjust the kerning to ensure you have some room between the letters.
Now command-click (control-click on a PC) on the type layer to load the type as a selection. On the channels palette press the Save Selection icon at the bottom of the palette to save the type selection as a channel. Double click on the new channel's name to rename it. Name it "original".
Drag the channel "original" to the new channel icon on the channels palette to make a copy of it. Double click the name on the copy to rename it. Name it "stroke". The type selection should still be active. If it isn't, command-click (control-click pc) the new channel to load it. Now under the Edit menu select Stroke. Enter a stroke of 6 pixels and select Centered. The "stroke" channel should now look like this:

1. Command-click (control-click pc) the "stroke" channel to load it. In the Selection menu choose Load Selection... In the Load Selection dialog choose the channel "original" from the pop-up menu. Choose the Subtract From Selection button and hit OK. Save this new selection into a new channel by hitting the Save Selection button at the bottom of the channels palette
2. Rename this new channel "outline". Drag it to the New Channel icon at the bottom of the channels palette to create a copy. Rename the copy "outline bump". Your channels palette should now look like the one pictured to the left. Make sure the "outline bump" channel is selected. Command-click (control-click pc) on the ouline bump channel in the channels palette to load it as a selection. Now go to the Filter menu and choose Blur-->Gaussian Blur. Enter a radius of 1 and hit OK. Now hit option-f (alt-f on a pc) to run Gaussian Blur again with the same setting. Now press command-D (control-D pc) to deselect the outline. Press option-f (alt-f pc) one more time to blur the edges of our outline a bit.
Now press command-L (control-L pc) to bring up the levels dialog. We want to get a bit more contrast in our bump map so slide the highlight slider (the one circled in red in the here) to the left until the highlight field reads 225 or so.
After you've run the livels dialog your "outline bump" channel should look something like the screen shot below.

3. We are through with the original type layer so you can drag it to the trash in the layers palette. Click the new layer icon on the layers palette to make a new, empty layer. Set the colors palette (if it isn't showing choose Window-->Color) to RGB color. Enter 127 in each text field to get a neutral gray. Press option-delete (alt-delete pc) to fill the new layer with the neutral gray foreground color.
Step 3 continues on the next page.
| Back | 1 2 3 | Next |
| Back to Photoshop main | ||